ECE 5725 Final Project: Capacitive Touch Keyboard
Tiffany Chou (tlc234), Jovan Menezes (jcm483), Romano Tio (rat83)
12 May 2023
Project Objective
For our final project for ECE 5725, we designed a Capacitive Touch Keyboard. This was implemented by connecting capacitive touch sensors to the GPIO ports of the Raspberry Pi 4. When a key is pressed, a speaker connected to the RPi outputs the corresponding note. To add further controls to the keyboard, we designed a user interface on the piTFT screen that allows the user to change the keyboard octave, play a metronome in the background, and switch to “Drum Mode,” where all the keys are mapped to drum sound effects rather than piano keys.
Demonstration Video
Introduction
All three of us play musical instruments, so for this project, we were inspired to design a digital piano that was implemented in a unique way – with capacitive touch sensors. Rather than using simple buttons or purchasing a MIDI keyboard, we chose to use capacitive touch sensors because it would allow us to expand the surface area where a “touch” could be registered anywhere on the key. This was done by cutting strips of tinfoil to the size of our piano keys, which extended the capacitive touch detection area. Our physical keyboard is made up of 12 keys: 7 white keys and 5 black keys. To allow the user to access all 88 keys on the piano, we added “Octave Up” and “Octave Down” buttons on the piTFT screen. Additionally, there is support for a metronome that plays at a tempo of 60 bpm (1 beat per second with a time signature of 4/4). Finally, the user is able to switch between “Piano Mode” and “Drum Mode”; in drum mode, the 12 keys are all mapped to different drum sounds.
Design
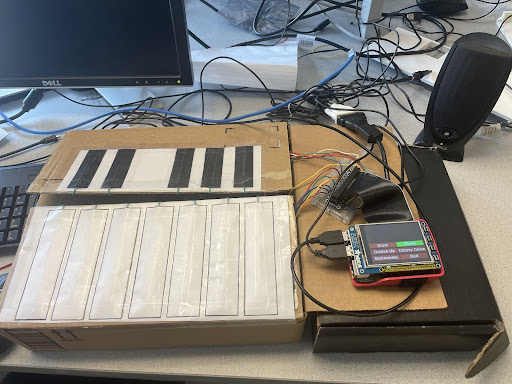
Final Hardware Design
Hardware Design
For the physical keyboard design, a cardboard box was used, with a set of 7 white keys on the bottom flap of the box, a set of 5 black keys on the top flap of the box, and the Raspberry Pi and piTFT screen on the right flap of the box. We designed the keys using Canva, and printed them out to fit the box measurements.
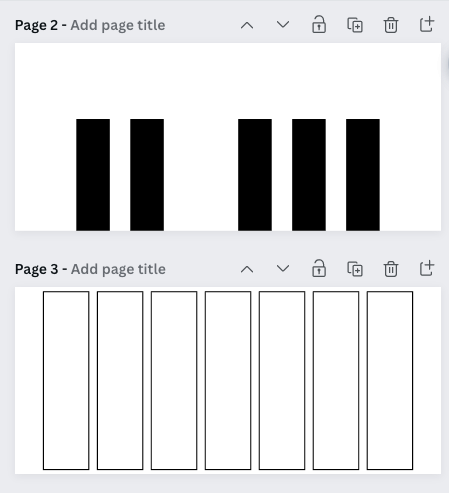
Design for Piano Keys
The primary hardware components of the design are the capacitive touch sensors and the piTFT screen. These components are powered by the Raspberry Pi 4, and connect to the GPIO pins of the Raspberry Pi. In a previous lab, the piTFT screen was set up by plugging the Pi breakout cable into the piTFT, and then connecting it to the 40 pin GPIO connector on the Raspberry Pi 4.

Schematic of PiTFT showing connections to Raspberry Pi, from Adafruit website.

Schematic of TTP223B capacitive touch sensor, from HiLetgo website.
For the capacitive touch sensors, finding a design that both allowed us to connect to the Raspberry Pi while creating a large enough capacitive contact patch for the piano keys was challenging. The sensors that we had were fairly small with dimensions of 24x24x7.2 mm. As a result, we had to expand the contact surface of the sensors. To do this, we soldered wires to the metal touchpads of each sensor, and ran this wire to a strip of tinfoil cut to the size of each key. Finally, we taped a piece of paper cut to the size of the piano key over the tinfoil strip. This created a larger capacitive surface area for the piano keys, and allowed us to keep the physical design outside the box simple, with all of the wiring housed inside the box itself.
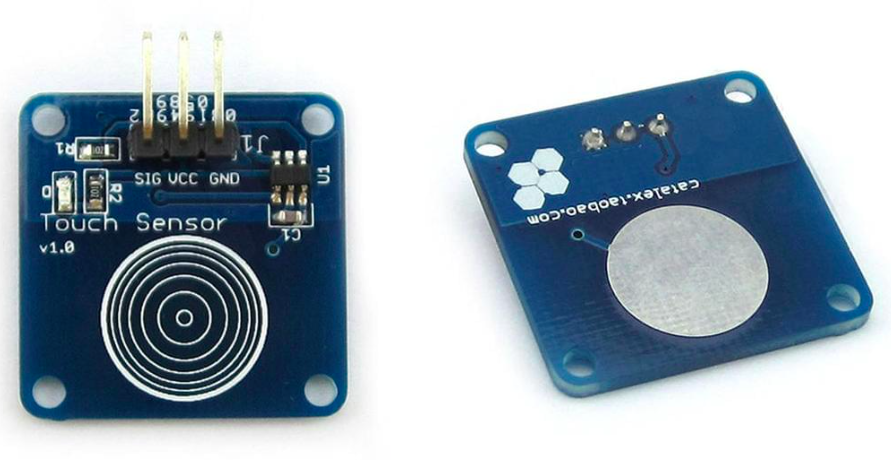
Image of capacitive touch sensors used
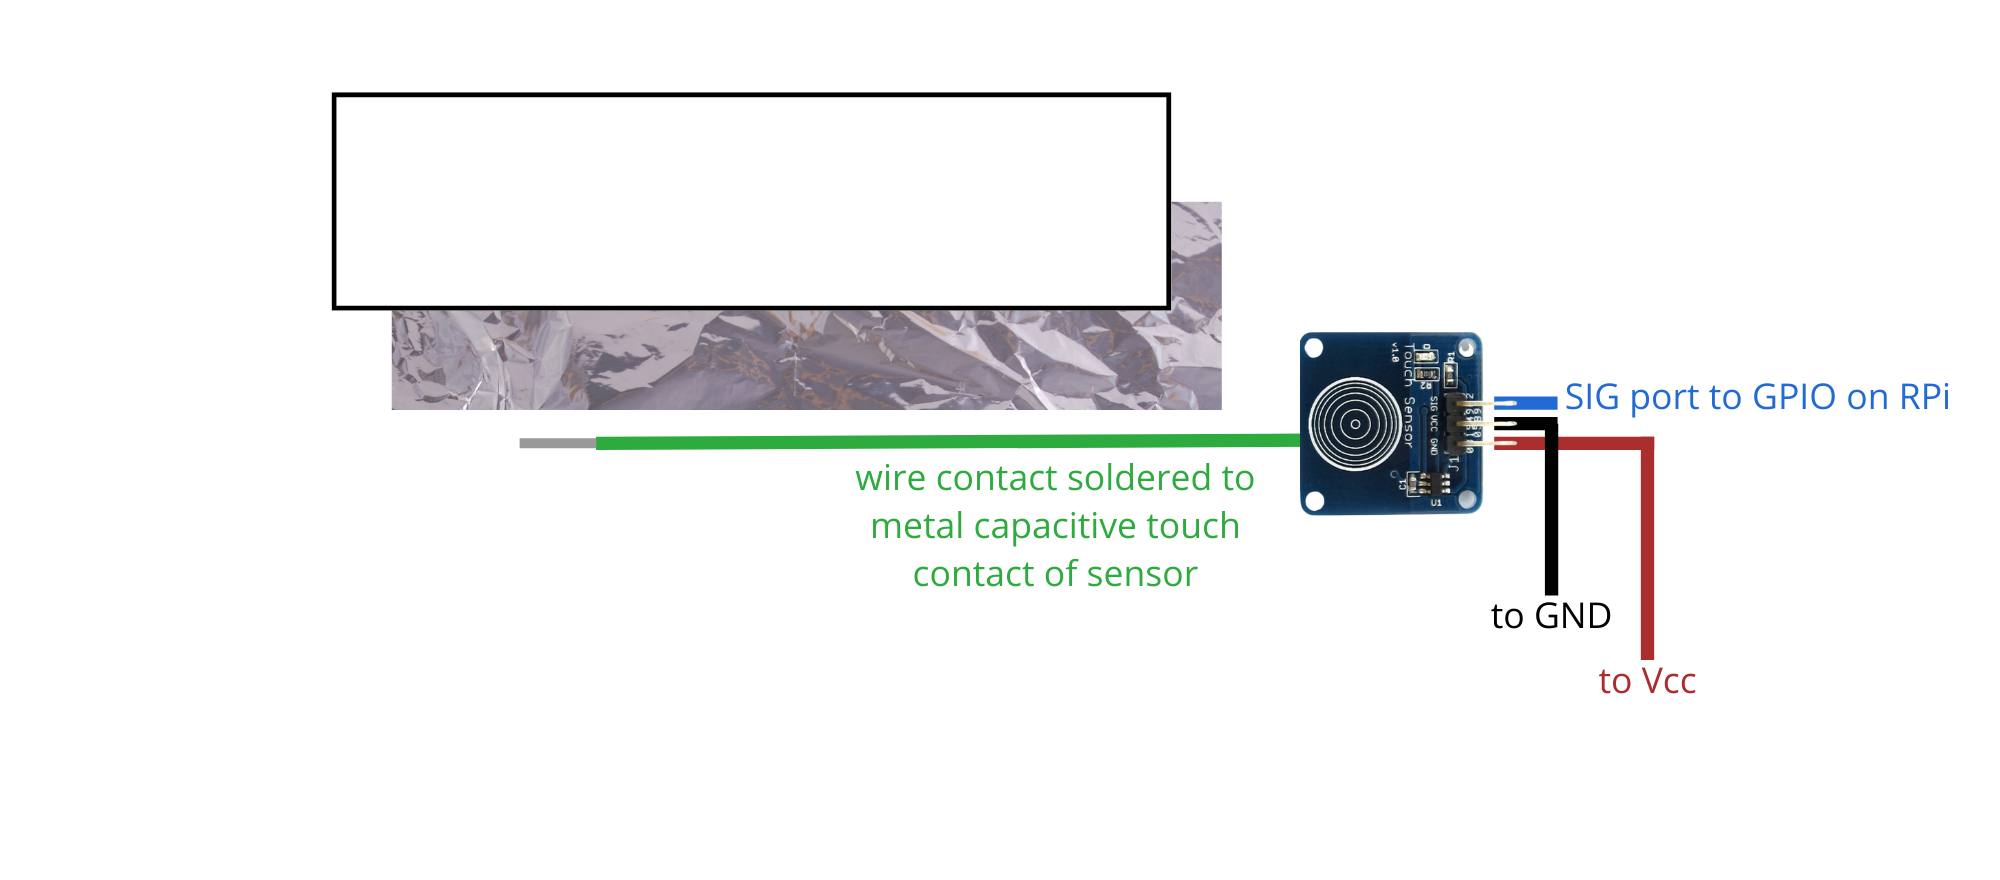
Assembly of Piano Keys
Each sensor has three pins: power, ground, and serial output. The sensor passes voltage high across its output wire when it reads a high enough capacitance, and passes voltage low otherwise. Though the sensors we used were designed for the Arduino, their simplicity in implementation and configuration allowed for them to be integrated into a Raspberry Pi with ease. These sensors feed their output into GPIO pins. We use the GPIO pins to read and detect voltage low or voltage high from the sensors.
Software Design
There are two main components to our software design: first, the controls for the piano control application on the piTFT screen and second, the control for playing piano notes. Our code uses a primary run loop in which we handle both of these components. We use the pygame module to design the application, and the pygame.mixer module to play sounds.
The application on the piTFT has the following buttons: drum, piano, octave up, octave down, metronome, and quit. When a button is pressed, the color changes from green to red to indicate that the state of the program is changed. The “Drum” and “Piano” buttons allow the user to switch between instruments. The “Octave Up” and “Octave Down” buttons allow the user to access all 88 keys on the keyboard from C1 to C7; the default octave of our piano is C4, or “middle C,” which is the center key for standard pianos. The “Metronome” button activates a metronome, which is set by default to 60 bpm (1 beat per second).
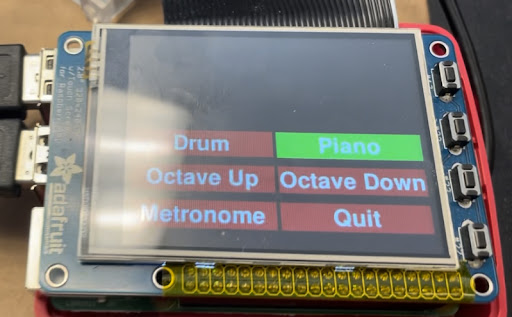
Layout of pygame application on piTFT screen
To tie piano key touches detected by the capacitive touch sensors to a specific piano note, we use the RPi.GPIO library as well as a variable, “keyspressed,” that is initialized to 0 for all keys. We create an array of white keys and black keys, as well as a dictionary initializing the state of each “keyspressed” to 0 for each key. When a GPIO input is detected and keyspressed = 0, we load the corresponding note by indexing into the array of keys, and creating a file path. Finally, we play the note for the duration of the key press and then stop after no press is detected.

Mapping of piano keys to detection of inputs
To implement the octave changes, we detect when the octave up or octave down button is pressed, and then increase or decrease the “octave” variable accordingly. Since there is an upper and lower limit on piano octaves on a physical piano, we limit the octaves for the user, and when the maximum or minimum octave is reached, subsequent button presses on the piTFT do not change the octave.
For the metronome, we first detect when the metronome button is pressed. A variable, “metronome_on,” which is initially 0, is then set to 1. In the main body of the code, there is an if statement that turns on the metronome when metronome_on = 1. The metronome works by calculating the time (we play one beat per second, for a bpm = 60), and playing a “strong beat” sound on the first beat, followed by three “weak beats,” similar to how an actual metronome would work for a 4/4 time signature.
To quit, we used a variable, “is_quit,” that was initialized to 1, and only enter the main body of our code while is_quit = 1. When the “Quit” button on the piTFT screen was pressed, is_quit was set to 0, which exited the program and returned the Raspberry Pi to the console window.
Testing
To test our design, we followed an incremental design process, confirming the functionality of a component or program at each step before progressing to the next target component of the design. We began by wiring a simple test circuit to an LED to confirm how the sensors worked, before moving on to testing that the Raspberry Pi can detect the output from the sensor. Next, we tested the sensors on the LED test circuit after soldering a wire and attaching the tinfoil to them. In parallel with this component of the physical design, we worked on the software, implementing the playing of notes by accepting computer keyboard inputs instead of our capacitive touch inputs. After this, we integrated the hardware and software components of the design and finalized the baseline functionality, and from this point we focused on expanding the capabilities of the keyboard. We tested the piTFT application slowly, making changes one by one, and visually verifying that the behavior of touch inputs to the touch screen worked as expected. We added on additional functionality one by one, and added the metronome, octave changes, and finally, the alternative instrument.
Results
For the most part, the keyboard functioned as designed. The capacitive sensors worked reasonably well, and did not significantly suffer from interference with each other. However, the sensors themselves were very sensitive, so the keyboard often suffers from premature note activations by hovering a hand too close to the keyboard. We were able to successfully expand on the basic keyboard by adding another instrument, additional octaves, and a metronome. Initially, we planned to also include looping support to layer sounds, but we had some issues with the parallel processing in our code and were unable to add this feature in time for our final demonstration.
Conclusions
We discovered that capacitive sensing, with the right implementation, can be a reliable and interesting way of accepting inputs from a user. We struggled with a lack of GPIO ports at a certain point, but the Raspberry Pi had just enough ports to support the design we were trying to implement. For a piano specifically, due to the way that a piano is typically played (with hands hovering close to the keyboard) it may not be the best choice for our purpose, but if we were able to control the sensitivity of the sensors we may have been able to build a better piano.
Work Distribution
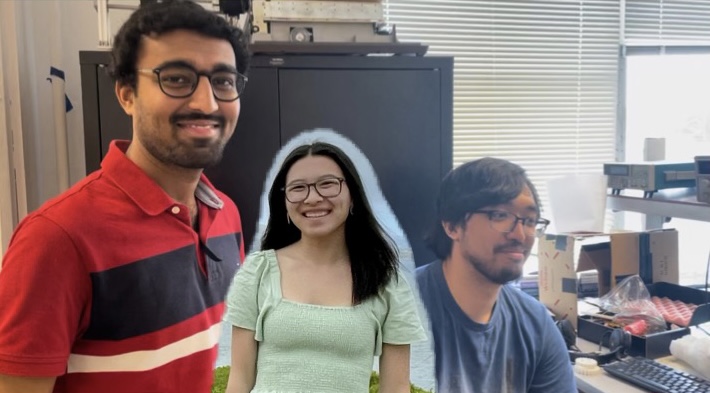
Project group picture

Tiffany Chou
tlc234@cornell.edu
Tiffany worked on building the physical piano. She assembled each of the piano keys, and wired the system. She made the website.

Jovan Menezes
jcm483@cornell.edu
Jovan worked on the software design. He worked on the piano note sounds, octave functionality, and the metronome.

Romano Tio
rat83@cornell.edu
Romano worked with both the hardware and software.
He soldered each capacitive touch sensor to wires, and designed the PiTFT application.
Once the basic piano was done, all three group members worked together on the additional functionality such as drum mode, testing the pygame application on the PiTFT screen, and increasing the reliability of the system.
Parts List
- Raspberry Pi 4 – provided in lab
- piTFT – provided in lab
- Speakers – provided in lab
- Jump wires, breadboards, velcro, tape – provided in lab
- Cardboard, paper – recycled/already owned
- Capacitive touch sensors – $16.98
Total: $16.98
References
Capacitive touch sensors (no datasheet, but product information linked)Pygame documentation
PiTFT screen
PiGPIO documentation
Raspberry Pi 4 pinout